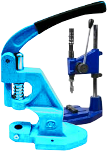
Installation tips Pronged Snap Fastentrs.
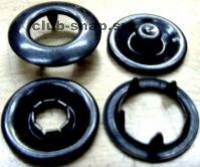
If no factory tips you can use those that fit button - for details "daddy"
. 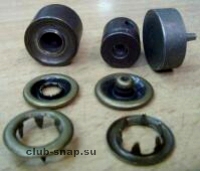
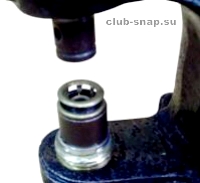
As the upper nozzle primenet cap for alpha buttons with a diameter of 15 mm, the lower part of the nozzle any flat surface of suitable height.
Installation scheme: the Upper part of the button 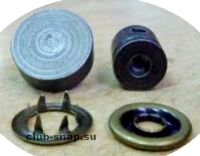
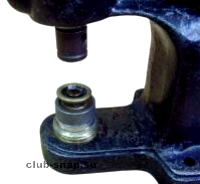
Install the lower part of the button. 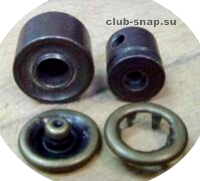
The upper part of the nozzle from the button with a diameter of 15 mm lower part of the nozzle for eyelets No. 10.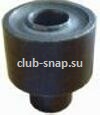
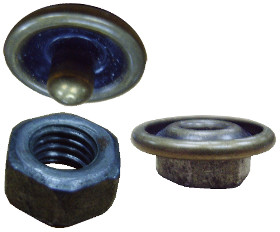
If You have no attachment eyelets No. 10, you can use an ordinary nut.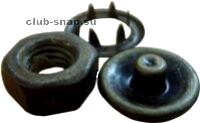
Set the button in the above described manner.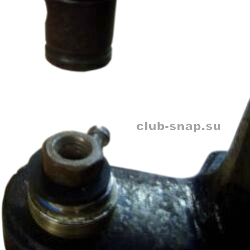
Nut diameter should not be greater or less than the diameter of the button.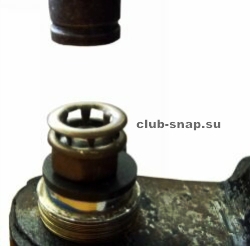
Installing the product: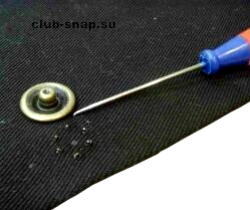 In place of markup antennae button peelable fabric,
In most cases, the fabric is quite thick, so you have to pre-poke holes with an awl, or simply you can bend the crown ring buttons.
Set forth in the press and stifle.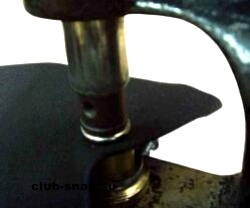
(The process is similar to installing shirt buttons).
If there are many buttons that are installed sequentially all the top buttons. Then move on to installing the lower part of the button. Installation starting from the neckline. Combine upper and lower shelves of the product. Check the correct alignment of the neck of the product. Doing the layout for the bottom part
button. 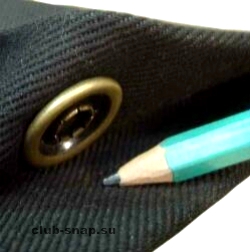 Mustache ring buttons make basting, awl sharp fabric installed in a press, hold down. Ready.
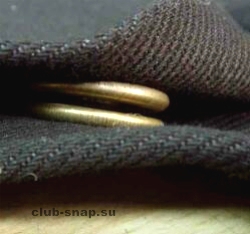
In the case when the square button more nozzles enclosed any suitable metal plate.

How to remove unnecessary Pronged Snap Fastentrs.
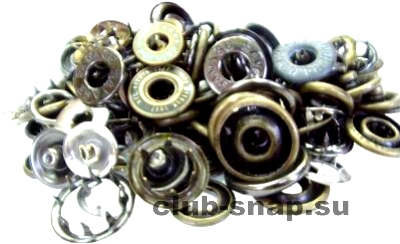
Because Pronged Snap Fastentrs often have a large diameter, for removal of
the buttons are convenient to use a flat-head screwdriver. 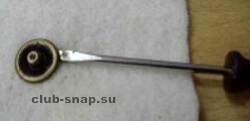 Pronged Snap Fastentrs not very durable, so removed from the product easily.
After removal of the button "dad" or "mom" straighten antennae ring pliers or side cutters to remove the ring of the key without damaging the fabric.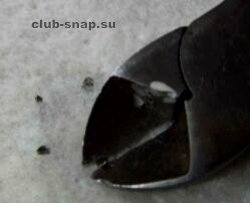 .
.
Recovery Pronged Snap Fastentrs.
Removed the button can be re-used 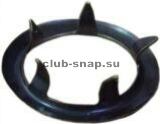
Straighten antennae pliers 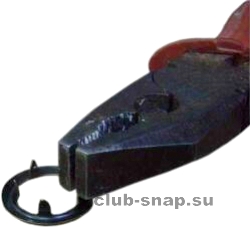 and get ready to install the ring button.
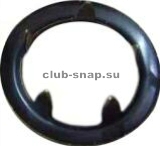
If the rest of the buttons are not lost, it's ready to re-install.
Note:
- If the crown part broken at least one barb, the button can not be restored 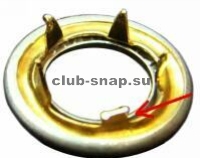
Adjusting the fixing buttons:
This need arises when the hand parts from different buttons or different manufacturers.
If the fixation of hard -
To adjust the commit button is not difficult having to manually punch with interchangeable nozzles.
Examples:
Button Ø15 mm suitable rod Ø3 mm 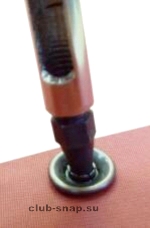
Button Ø20 mm suitable pin Ø5 mm 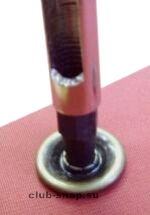
Lightly punch presses down and shook their from side to side, then check the commit button, and if necessary repeat the operation.
- If the commit button is weak
To adjust a weak fixing clamerey button there are two options:
1. Biasing rassechku button borreson consistently, around the circumference.
2. Abimael the lower part of the button pliers 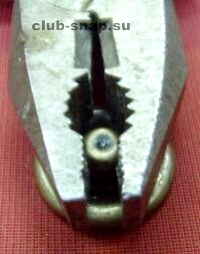 Of all do slightly oval.
Check the commit button, and if necessary repeat the operation. Don't put great effort when the compression button, it's easy to permanently deform. This operation is best done in several stages.
So do they do with the button No. 902.
Adjust only the lower part.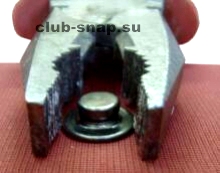
Note: For convenience, purchase side cutter with maximally flat cheeks 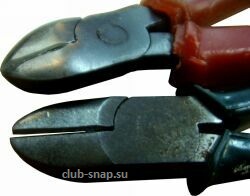
Comments:
Nothing I can say about these buttons are neither good nor bad. Someone like that. Original appearance.
New products almost not installed, there is no demand.
Basically the repair or replacement of these buttons (there is much more).
Besides the fact that these buttons fail sometimes, and this defect.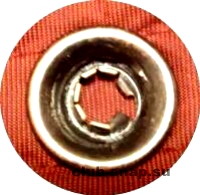
Haven't fallen off, so deformed..
Original application kamerny buttons as hook-latch for service.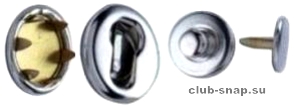
This kind of reminds oversnow knopok, but in fact is the typical clamerey button.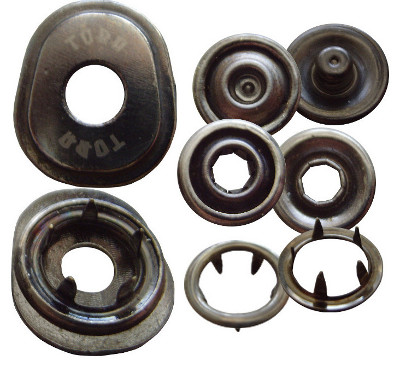
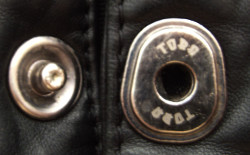
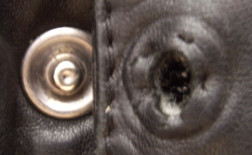
The disadvantage is destroyed from the load.
Advantages - easy to disassemble, easy to recover and move to the right place. In this case, the buttons were removed from manilow sleeve and mounted on the front placket jacket. On the cuffs of the sleeves are installed luverne button.
