


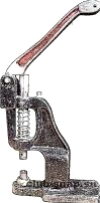
Install s-spring buttons. Instruction. Examples of setup buttons.
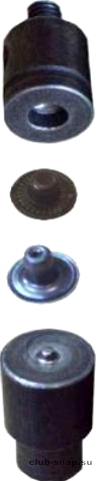
1. Install the upper part of the button:
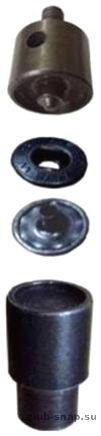
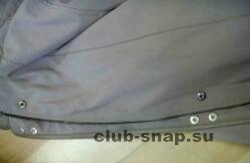
2. Install the lower part of the button:
Buttons with a diameter of 12 mm and 10 mm are set similarly.
Examples of setup buttons alpha:
Install the upper part of the button 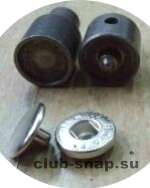
1. Punch a hole on a preliminary marking under the button in accordance with the density of the fabric is thinner diameter 2 mm, more dense with a diameter of 2.5 - 3мм 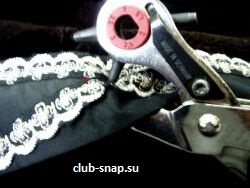
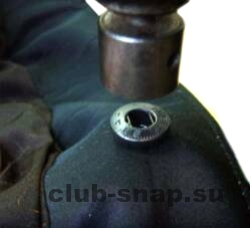
2. in a punched hole set top part of the button

3. on the reverse side set the second part of the button 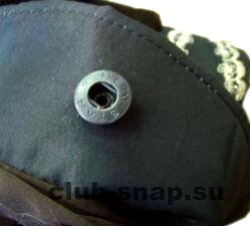
4. install the product in the press. Gently, but firmly, push the lever, ready
Consistently set all the top buttons in accordance with the preliminary layout. If the product is set to a large number of buttons. it is better to count the required number of parts buttons, so as not to miss any of them. There was one or two buttons, then somewhere missed the installation. Check again
5. Install the lower part of the button 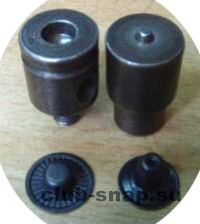
Combine upper and lower straps of the product, check the correct alignment of the neck of the product (because first, the lower part of the button, start to put from the mouth).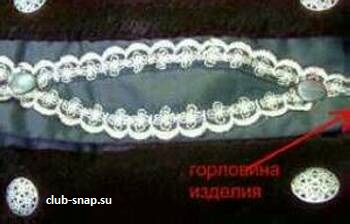
A)Even if the markup was done by the seamstress, still check the markup.
B) Never blow holes in both the upper and lower bar would be cheaper, despite the apparent savings in time.
note the installation location of the bottom of the button (chalk, soap, pencil, marker, etc.).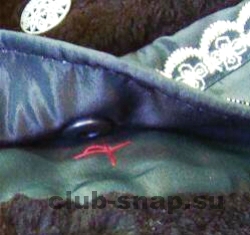
punched a hole with a diameter of 2.5 mm, mounted the lower part of the button.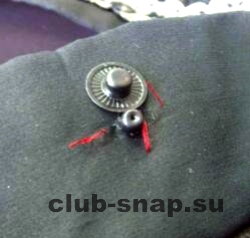
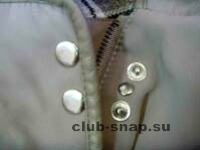
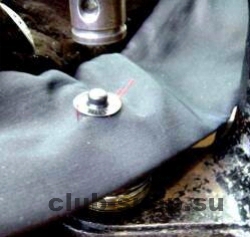 Set press Press ready !
Button ready button, straighten the shelf, check the alignment of the left and right flooring products (this operation is preferably carried out after each installation the bottom of the button). Similarly sequentially selects the second and subsequent parts of buttons. Ignore the fact that the edges of the top and bottom bars should be the same.
The standard distance from the edge of the strap to the center of the upper part of the button is 15 mm If it is closer, it is inconvenient to unbutton the button, if more than 15 mm, the edge of the shelves will be thibetica in the process of wearing the product.
Similar operations are performed on other elements of the product
 The valve pockets.
Which button left or right to set the first anyway.
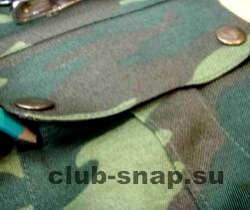
The cuffs of the sleeves first set bottom (extreme) click
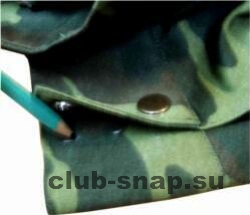 then the top button
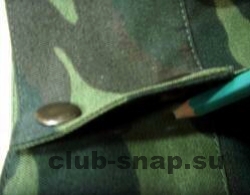
Note:
1. If your right or left part of the cuff is slightly narrower or wider than the other then it is not so evident, i.e. less noticeable.
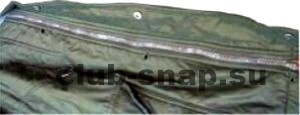
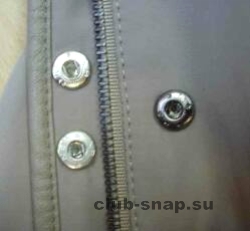
2. If the jacket with sewn-in zipper it doesn't matter where to start to install the lower part of the button on top you can bottom, but not on the middle part of the shelf, there is a possibility of error. Starting from the neckline products 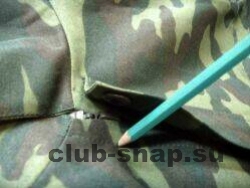 or from the bottom shelves
  gradually unbuttoning jackets zipper.
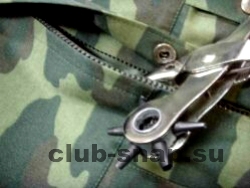
Special attention is paid in the process of punching holes for buttons, fixing a punch on the markup, inspect the lower part of the product (under the punch) is the probability of formation of folds, You can imprudent to punch a hole in a totally not the right place, thus spoiling the product.
Another example:
Install the bottom of the buttons on the new product.
Strip set top buttons on the layout of the customer.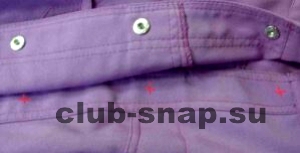 The seamstress did a preliminary layout, but don't trust and verify
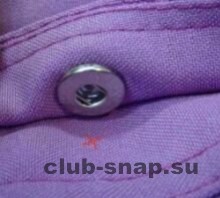
The difference between markup and center button for about 2 mm, but if multiplied by four buttons, in General, will run across 8 -10 mm, i.e., does not meet the bottom or top of the product, respectively, is Your marriage work.
Again pay attention to care when installing the lower part of the button , in the end, use a needle to accurately mark the position of the bottom of the button.
(Until you fill the eye and hand, in the future, this operation will run faster)
Setting buttons alpha 12mm is the same as setting buttons with a diameter of 15 mm
Repairing a child's jacket 
Sewers installed a hidden top buttons in one layer of thin tissue in a child's jacket , their child is safely pulled out. It is done through the setting buttons with a diameter of 12.5 mm, as a more appropriate size and good fixation..
Setting buttons alpha 10mm (purse) is similar.
Tips for buttons with a diameter of 10 mm need to have, at least over time, later. Periodically have to be repaired gloves (wrist they are on the small buttons, as well as the purses and their variants).
Frequently performed work:
This is to re-install the bottom button in the jacket after replacing the detachable zipper. Is easy and fast because the holes for the buttons already exist.
англ Examples of installation and replacement of non-standard buttons on clothing.
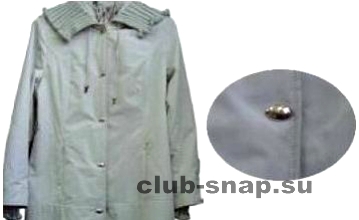
Often a situation arises when they bring the product with custom top buttons, four buttons were only two, the rest fell off during operation. Produced by replacing all the buttons. At least explain to the customer that usually when sewing party service manufacturer on the advice of the designer orders a particular shape and configuration of the buttons, in limited quantities, so this type of button does not come in a wide sale.
 That's what passed for repair. Of the four buttons have two.
Produced by the demolition of old buttons bacareza.
or hooked screwdriver.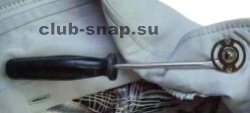
It is set to install buttons  (to close the traces of old buttons),
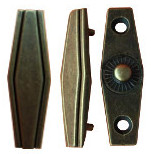
  In coordination with the customer placing the buttons oval elongated shape.
Note: but if they had, they would have to install mounting buttons large diameter ( see Fabrication and installation of mounting buttons" ).
 punched holes in the upper part of the button,
  button from cast metal, but in order not to scratch put a few layers of fabric.
 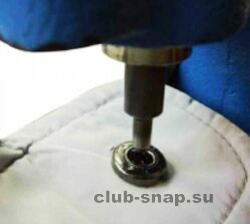 set in a press, slowly press down on the lever. A sharp click is not recommended, you can capture an alignment or deform both of the button. The metal buttons of this type is very soft, unlike Turkish.
View from the reverse side.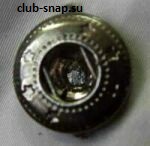
View from the front side. 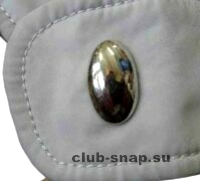
Remove the lower part of the button 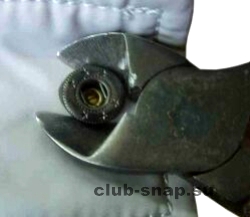 being careful not to damage the fabric.
The lower part of the button to install easier as hole installation already exist.
 The product is ready. The appearance is similar to a factory.
A similar example:
 of the four buttons left alone.The holes of the buttons arranged vertically.
The appearance of the previous button 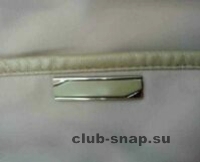
 unfortunately the old holes oval button will not close, and pulling the button is too big for such a cloak.
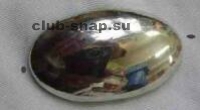
Tip: do not try to repair this type of buttons, anything good will not work, they probably can be fixed only spot welded in the factory.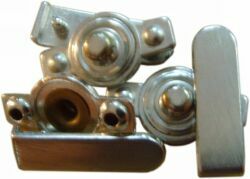
Similar and these buttons: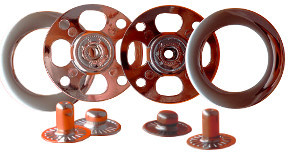 The appearance of the other, but mounting the same.
Proposed to install two buttons with a diameter of 12 mm. Agreed. Begin to work.
Remove the remnants of the old buttons 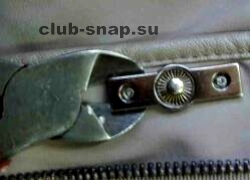
Tips for installing buttons diameter 12.5 mm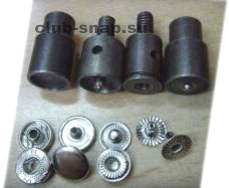
Options:
A) For these buttons so you can use and Chinese nozzle 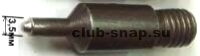 с диаметром рабочей части = 3,5 мм.
B) a Hat button, you can rent a diameter of 12.5 mm, and the inner part of the button to set the diameter of 11.5 mm firm "Big" and install Turkish nozzle for buttons or Chinese nozzle. At the heart of any good result.
Install all top buttons. 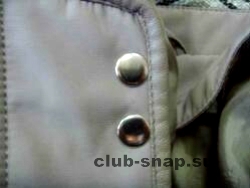
 Proceed to installation the bottom of the buttons.
Remove the old part of the buttons.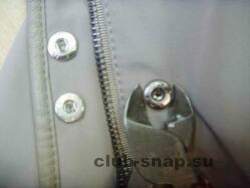
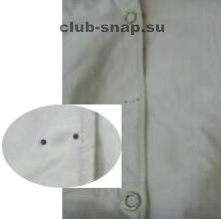
It turns out that the old hole is between the new, in this case, close it chainitem diameter of 9 mm .
The next step is to map the bottom of the button. Start with the top products 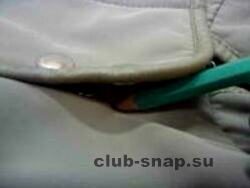
Put a mark, punched a hole, set the lower part of the buttons buttoned.
Spaced beneath the lower part of the button.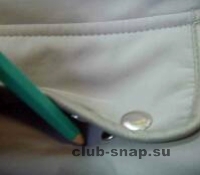
 Here's what you get, and so consistently set every couple of buttons.
The product is ready 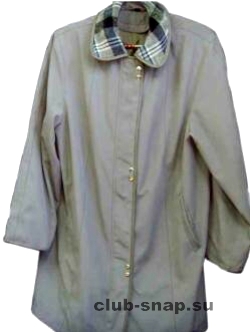
Produced so special plastic substrate for buttons increase the diameter of the front buttons up to 20 - 22mm.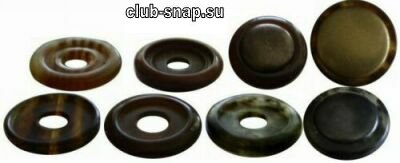
Note: because the substrate material is fragile, do not use excessive force. Install recommended on a flat area of enlarged diameter (without the use of standard bottom nozzles).
Another interesting type of buttons 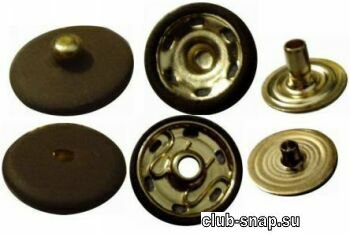 Here is what you can create from ordinary sew knoke. The upper part of the button is covered with plastic imitating suede.
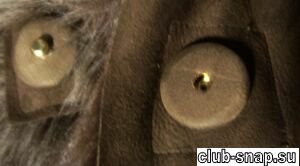 Installed like a normal s-spring button.
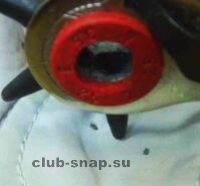
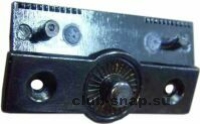
This nozzle - punch: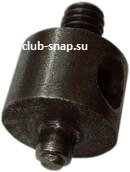
The same option buttons, but the cloth covered: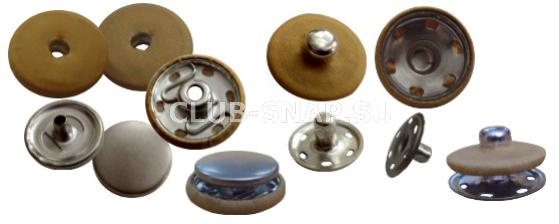
 The button looks like disassembled.
Similar type of buttons used by the firm Montcler .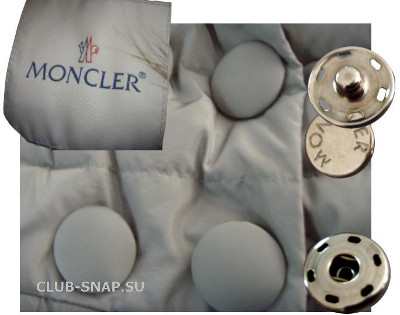
Another variety of this type of buttons.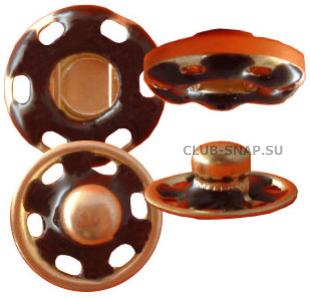
Not to be confused with the similar in appearance, but sew buttons ( they consist of two parts)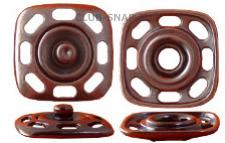
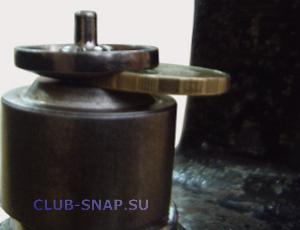
If you have to install the button with fournoi outer surface.
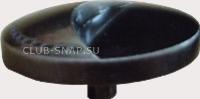
In this case, as additional tips use coin.
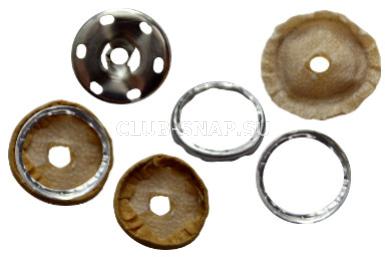
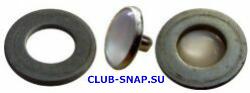
Button alpha with a pearl insert. 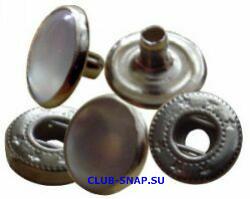
This type of buttons is rare and probably makes no sense to have a special attachment to their installation. That would not have destroyed the plastic insert is sufficient to enclose a suitable diameter ring.
 or
or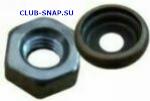
When installing this type of buttons you want to keep the condition under which the center of the pearl paste does not touch the surface of the lower part of the nozzle, as in this place the highest voltage, and the plastic insert is destroyed. When this requirement is met, You will always be able to install the button.
Note: as an upper nozzle used any suitable diameter.
The bottom of the buttons that quickly fall apart.
Sometimes clothing manufacturers install these bottom buttons
which is easily separated into its component parts. To reinstall these parts are quite suitable part of button production "Big accessories" Creates a secure connection details button.