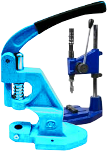
Install brass snap systems or bubble snap buttons manually at home.
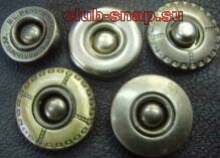
Brass snap systems consists of 4 parts.

The main dimensions of the face of the button (od): 
Components parts of the front buttons have the following dimensions:

These dimensions do not pay attention (this is for information). Importantly, if the inner diameter of the front ring coincides with the diameter of the inner button detail.
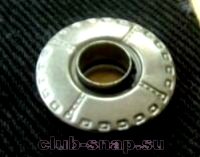
To install the front part of the button you can use the ball bearing of the appropriate diameter (if available).
You can use a bolt with a rounded head. 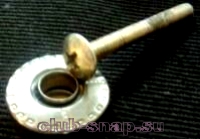
The diameter of the bolt head should be 1.5 larger than the diameter of the holes of the button
.
Start: from the beginning you need to make a hole in the tissue (skin). Mark . 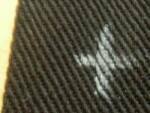

If there is a manual punch punched hole. If punch small diameter punched holes, stacking them on each other to get holes Ø 8 mm
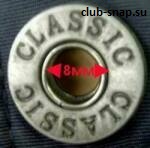
If there is no punch cut a hole with sharp scissors. Fold the fabric area
and do sharp scissors cuts at a 90° angle from both sides. 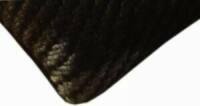
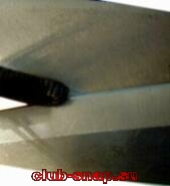
The resulting hole is required to install the eyelet of the button. 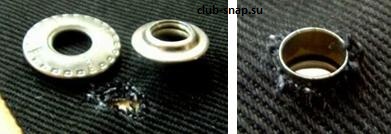
Set the eyelet button. 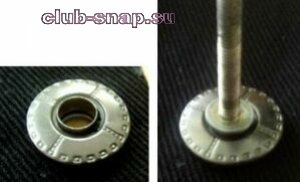
As the metal buttons are pretty thin, hammer not much knock. 2-3 strike, looked what happened.
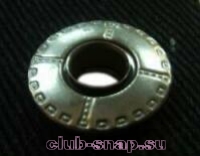 A little knocked, was examined.
Continue further. We obtain the result. 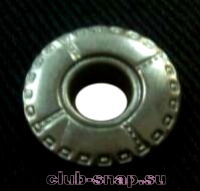
If the front ring button rotates slightly, this is normal. The main thing that the rolling was good. No longer knock with a hammer, can deform the button.
For installing the bottom of the button you can use this device 
It is a tool to install the shirt buttons.
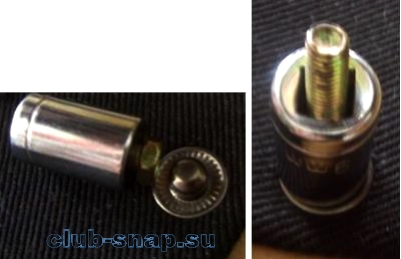
Or this tool: short cylinder and bolt flat head.
Looks like bubble snap buttons fully assembled: 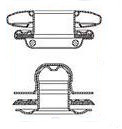
Another installation option. Take a suitable diameter of the nut placed and hammered with a hammer.

The lower part of the button might look like this.

On the reverse side of the fixed part on the type of denim cloves. 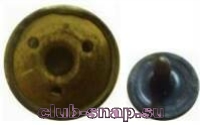
Installs easily with a hammer.
