


Installation of shirt buttons (Baby Snap System) manually at home.
They are called button Jersey, as they were designed to be installed on knitwear. The thing about these buttons is that they do not cut the fibers in the installation process, although the strength of the buttons are relatively low. To unbutton them very carefully, preferably by nails.
The basic sizes of buttons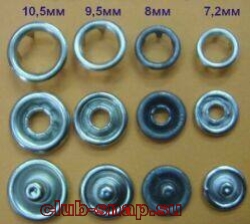
The front part of the button 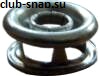 The inner part of the button
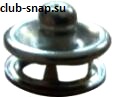
The installation sequence of buttons.
First of all install the front buttons, then the inner part buttons. 
Pencil planned center the second part of the button, set it, fastened and proceed to install the following parts of buttons.
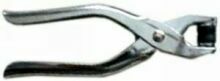
Select an appropriate device: 
The tube diameter should not be larger than the diameter of the installed button.
Crown buttons peelable fabric in the right place 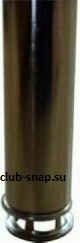 and mounted on a flat wooden surface, the Front part of the button is located below.
Likewise, it sets the button with a continuous outer surface. 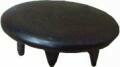
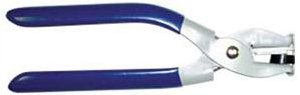
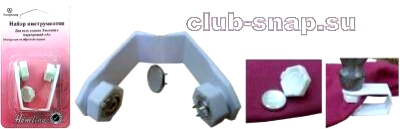
To install a shirt is a shirt button company Wellcraft comes fixture, 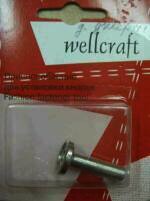
a similar device is available and Hemline” 
When working with this tool, you need to bear in mind that the possible marriage when installing buttons 
The teeth of the crown button punch through the details button.
A little harder to install manually buttons with inserts 
To install you need on a thick layer of tissue, 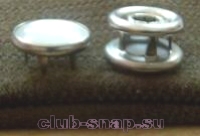 that would not break the plastic insert.
that would not break the plastic insert.
Not much tapping with a hammer and observing the alignment (vertical fit) set the desired button. 
Another way to install with nuts. Select the appropriate size nut and install button. 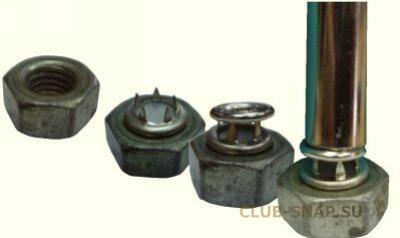
Setting the button quality is obtained.
To remove the button from the product is very easy using a flat screwdriver, hooked the edge of the button and slightly rotate the screwdriver until you come off button.
If you install this way does not work, destroyed pearl insert, you will need to purchase the mounting of these buttons.
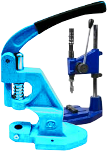
or buy a crimper to install buttons.